A new PC has no display: read debug LEDs without guessing the faulty part
A persistent diagnostic LED helps choose an investigation path. It is not enough, by itself, to justify buying a replacement CPU, memory kit or GPU. Record the exact board and symptom, check the display path, then follow the manufacturer’s safe steps one change at a time.
Research and writing prepared with AI assistance. Research-based guidance; no site-owned hardware testing is claimed.
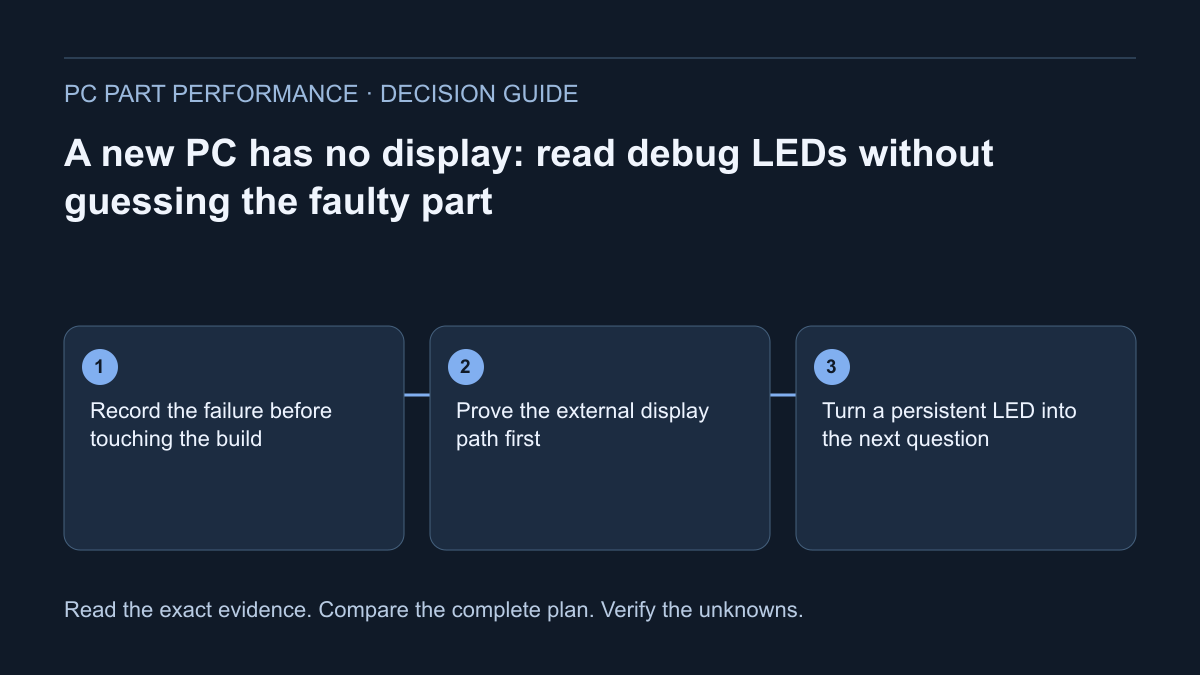
Record the failure before touching the build
Describe what you can observe: power button behavior, fans, display message, keyboard response and the printed name beside any persistent LED. A photograph of the board labels can help you make a clear support request. Record whether this is the first startup or a formerly working PC after a specific change. Those are different starting points.
A rotating sequence during startup is different from the same indicator remaining on. Use the exact motherboard manual to interpret its indicators and any expected waiting period; do not adopt a delay or color legend from a different board. MSI’s troubleshooting guidance uses a persistent EZ Debug indicator to identify the relevant boot-stage investigation. That is a starting point for checks, not a site-issued component diagnosis.
Prove the external display path first
Check monitor power, its selected input and the cable ends. If the PC has a discrete graphics card, confirm that the intended display cable is connected to the selected graphics output. A motherboard display connector is useful only with a supported graphics-capable processor and the applicable configuration. A blank screen alone does not tell you which internal part is wrong.
Use a known working monitor or cable if one is already available, and record the result without changing several things together. Remove a dock or adapter from the test path when the manufacturer-supported direct connection is available. This separates a display-path problem from an internal startup investigation. Avoid buying replacement hardware solely because the monitor reports that it has no signal.
Turn a persistent LED into the next question
ASUS publishes separate CPU, DRAM, VGA and BOOT Q-LED investigation paths. It also tells readers to verify that their motherboard supports those indicators. Use the matching manufacturer instructions rather than treating a color, label or internet photo as universal. A CPU-related indicator still calls for checking the exact CPU/board support context, not guessing that the silicon is dead.
For a DRAM investigation, the useful questions include seating, manual-specified population and the exact kit. For a graphics investigation, inspect the intended display path and installed card connection. A BOOT investigation points you toward storage detection or the boot configuration. Each branch is a way to narrow the evidence. The table below is an investigation worksheet; it is not a replacement authorization.
| Persistent label | Evidence to collect | Do not conclude from the LED alone |
|---|---|---|
| CPU | Exact CPU, board and support/firmware record | CPU must be defective |
| DRAM | Exact kit, slots and installation state | Every installed module is defective |
| VGA | Output path, card seating and power plan | GPU must be replaced |
| BOOT | Storage recognition and boot-device setup | A newly fitted SSD has failed |
Inspect assembly only after removing power
Before reseating or reconnecting internal parts, shut down, turn off the supply and remove external power according to the component instructions. Keep the manuals beside the machine. Check that the required board and graphics power connections are present, using cables approved for the exact PSU. Never open a power supply or substitute modular cables by appearance.
A beginner does not need to dismantle the entire machine in response to one light. Start with the documented, reversible checks you understand. Stop if a connector is damaged, a part does not seat correctly or the procedure is unclear. Ask manufacturer support or a competent technician for help rather than forcing a component or attempting socket-pin repair as a generic troubleshooting step.
Verify support before considering a firmware procedure
Keep the exact board model and hardware revision, CPU model and installed firmware version where it is actually known. Compare them with the board maker’s CPU-support documentation. Shared socket names do not answer whether the current firmware recognizes that processor. If the seller cannot establish the installed version, record uncertainty instead of inventing a supported status.
Firmware updating is not an automatic cure for every no-display symptom. Some boards provide a supported method without a working CPU; others do not. Follow only the exact board’s procedure, including file selection and power requirements. Do not download unofficial firmware, improvise a filename or interrupt an update. A support request should include the evidence that made firmware relevant in the first place.
Keep one change and one result in the log
Create a short log with the original state, the single action, and the resulting display/indicator behavior. “Reseated one module in the documented slot; same DRAM indicator” is much more useful than “tried everything.” If testing with another part is appropriate and available, record its exact identity too. A successful substitution can narrow a problem without proving every possible cause.
Use the troubleshooting flow to preserve the next check and the compatibility page to record support uncertainties. If the safe manufacturer steps do not resolve the issue, send the concise evidence log to support. This article is a research-based process, not remote diagnosis, hands-on testing or proof that a particular component failed. The goal is fewer guesses and a reproducible next step.
Apply this to your PC
Sources and scope
- MSI — No power or no display after booting
External display, CPU-support, memory and EZ Debug troubleshooting. Generic manufacturer guidance must be checked against the exact board manual. Source inspected 2026-10-13.
- ASUS — Motherboard troubleshooting via Q-LED indicators
Persistent CPU/DRAM/VGA/BOOT indicators and the corresponding investigation paths. Indicator support and behavior vary by board; no component was diagnosed by this site. Source inspected 2026-10-13.